Conquer Zoma's Citadel in Dragon Quest 3 Remake: A Comprehensive Guide
This guide provides a complete walkthrough of Zoma's Citadel in Dragon Quest 3 Remake, including treasure locations and boss strategies. After your arduous journey, this final dungeon presents the ultimate challenge.
Reaching Zoma's Citadel

Following Baramos's defeat, you'll enter Alefgard's perpetually dark world. To reach Zoma's Citadel, you must obtain the Rainbow Drop:
- Sunstone: Found in Tantegel Castle.
- Staff of Rain: Located in the Shrine of the Spirit.
- Sacred Amulet: Received from Rubiss after rescuing her atop the Tower of Rubiss (requires the Faerie Flute).
Combine these items to create the Rainbow Drop, forming the bridge to Zoma's Citadel.
Zoma's Citadel Walkthrough
1F:

Navigate the chamber, circling either east or west to reach the throne in the north. The throne moves, revealing a hidden passage. Living Statues guard the central chamber.
- Treasure 1 (Buried): Mini Medal (behind throne).
- Treasure 2 (Buried): Seed of Magic (electrified panel).
B1:

This level contains a single chest:
- Treasure 1 (Chest): Hapless Helm
B2:

Traverse the directional tiles to reach the stairs leading to B3. Practice on the Tower of Rubiss's third floor if needed. Remember:
-
Blue half of the diamond: Left = North, Right = North
-
Orange half of the diamond: Left = South, Right = South
-
Orange arrow points in desired East/West direction: Press UP. Points away: Press DOWN.
-
Treasure 1 (Chest): Scourge Whip
-
Treasure 2 (Chest): 4,989 Gold Coins
B3:

Follow the outer edge. A detour to the southwest reveals Sky, a friendly Soaring Scourger. A separate chamber (accessible via B2's holes) contains a Liquid Metal Slime.
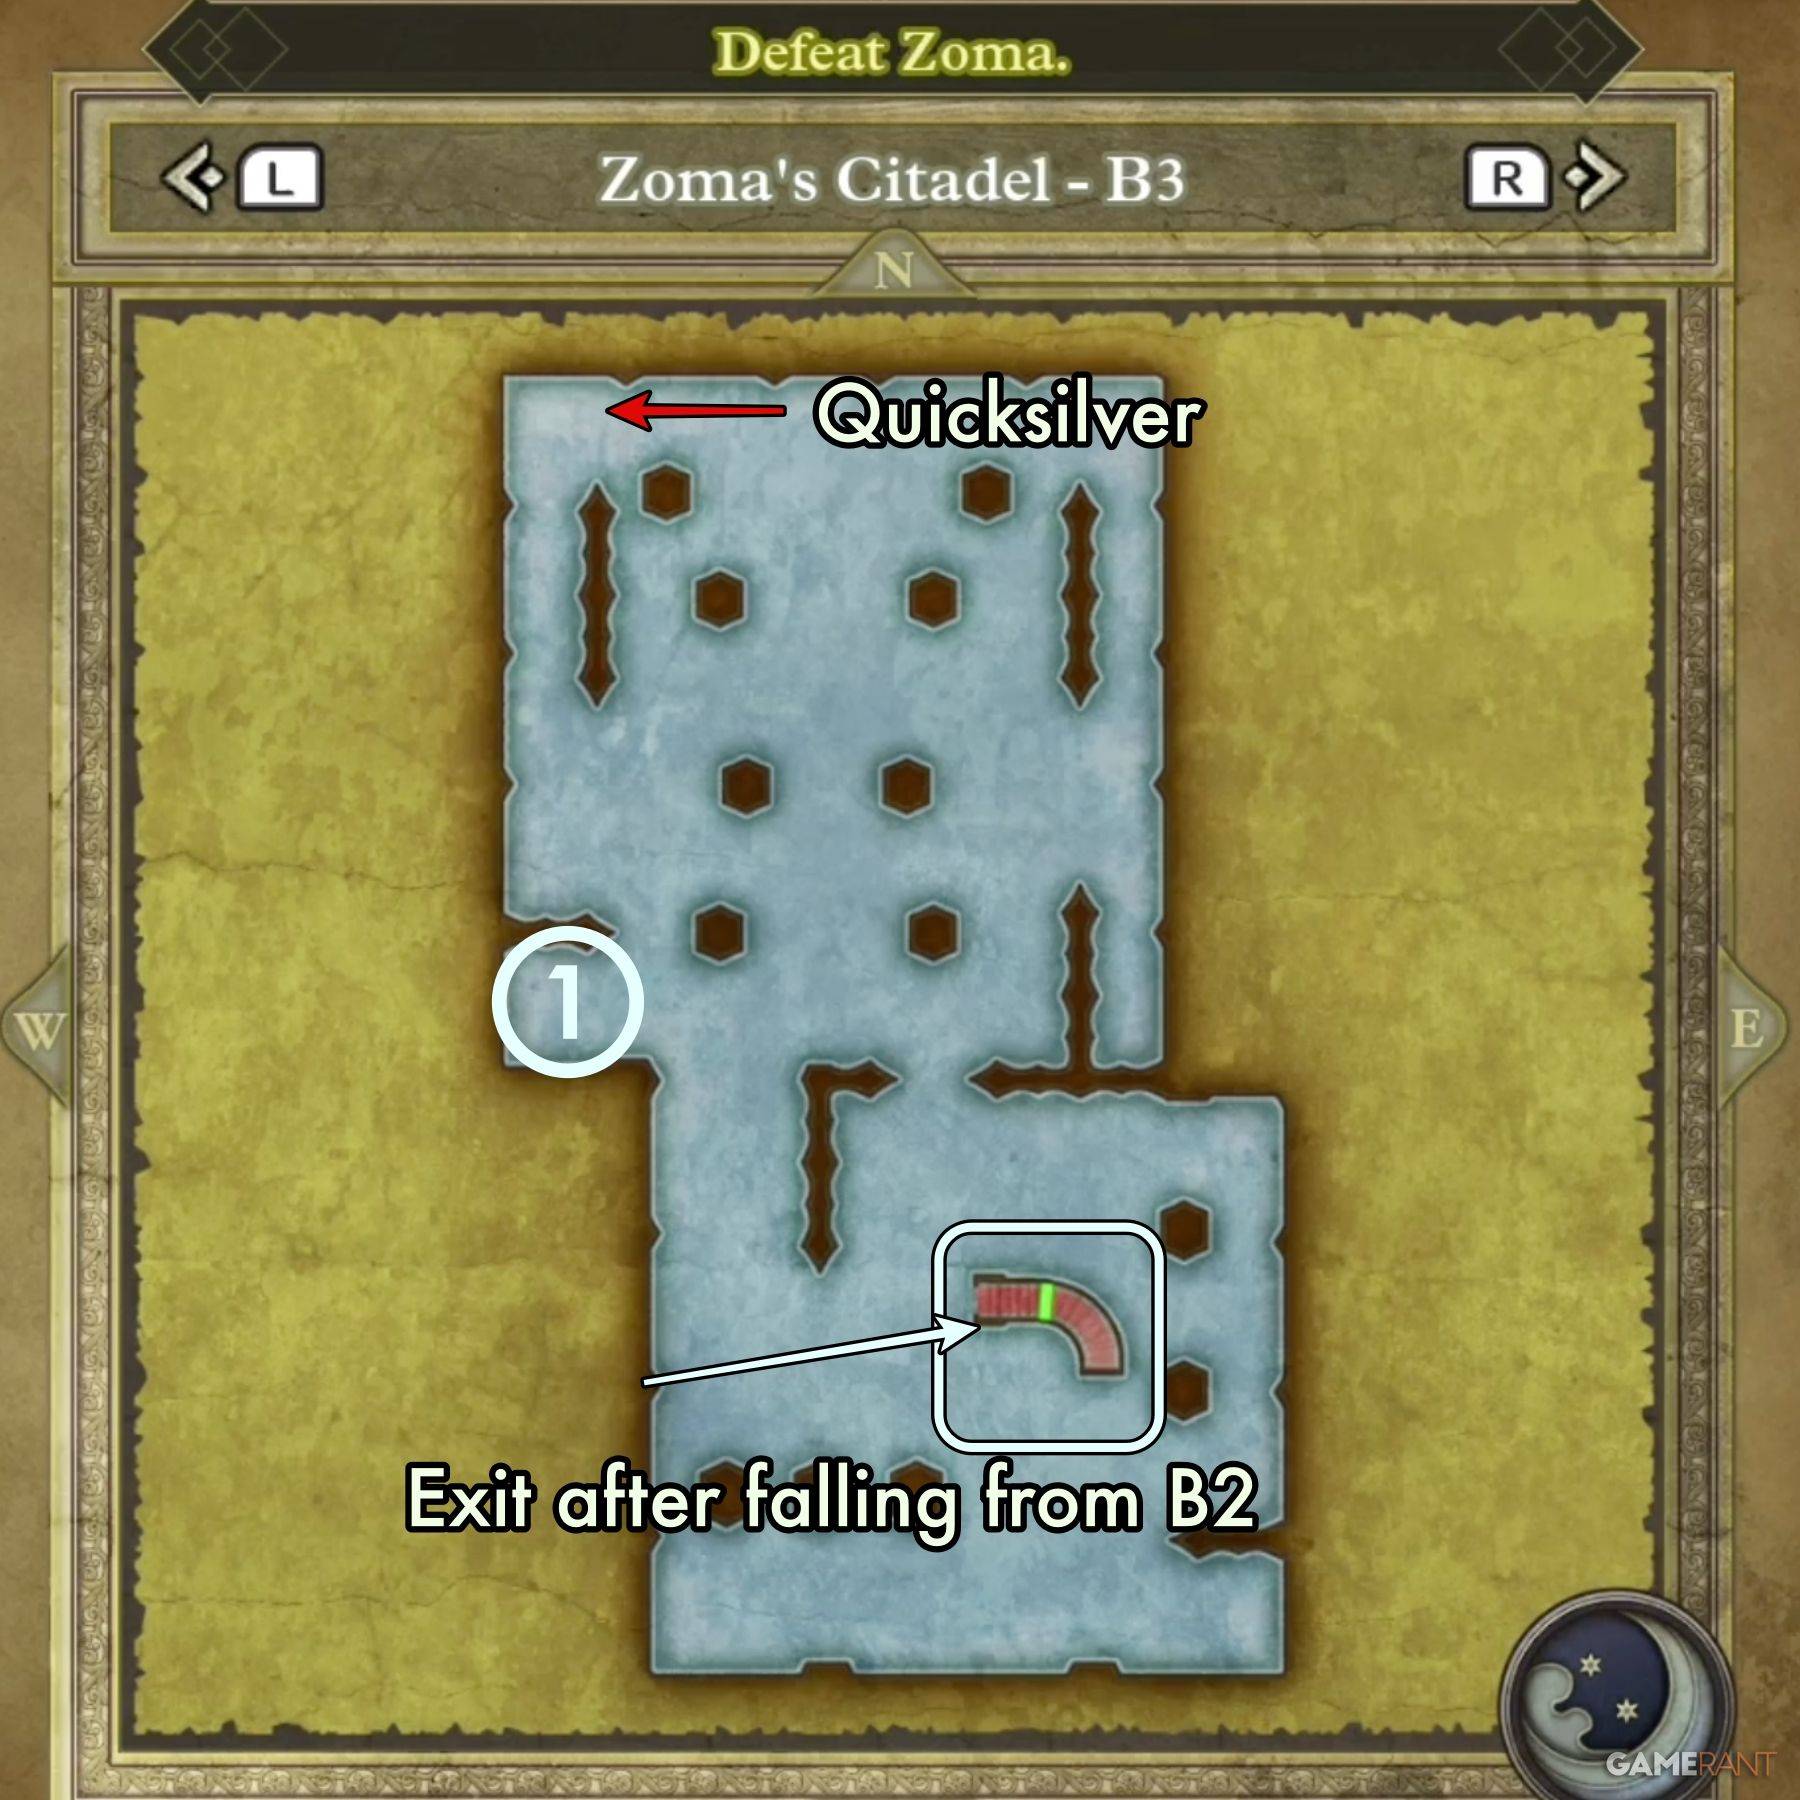
- Treasure 1 (Chest): Dragon Dojo Duds
- Treasure 2 (Chest): Double-Edged Sword
- Treasure 3 (Chest): Bastard Sword (Isolated Chamber)
B4:

Navigate from the center-south, upwards and around, then to the southeast exit. A cutscene plays upon entry.
- Treasure 1-6 (Chests): Shimmering Dress, Prayer Ring, Sage's Stone, Yggdrasil Leaf, Dieamend, Mini Medal
Defeating Zoma

Before facing Zoma, defeat:
- King Hydra: Vulnerable to Kazap. Aggressive tactics are effective.
- Soul of Baramos: Weak to Zap.
- Bones of Baramos: Similar weaknesses to the Soul; Kazap and Monster Wrangler combos are highly effective.
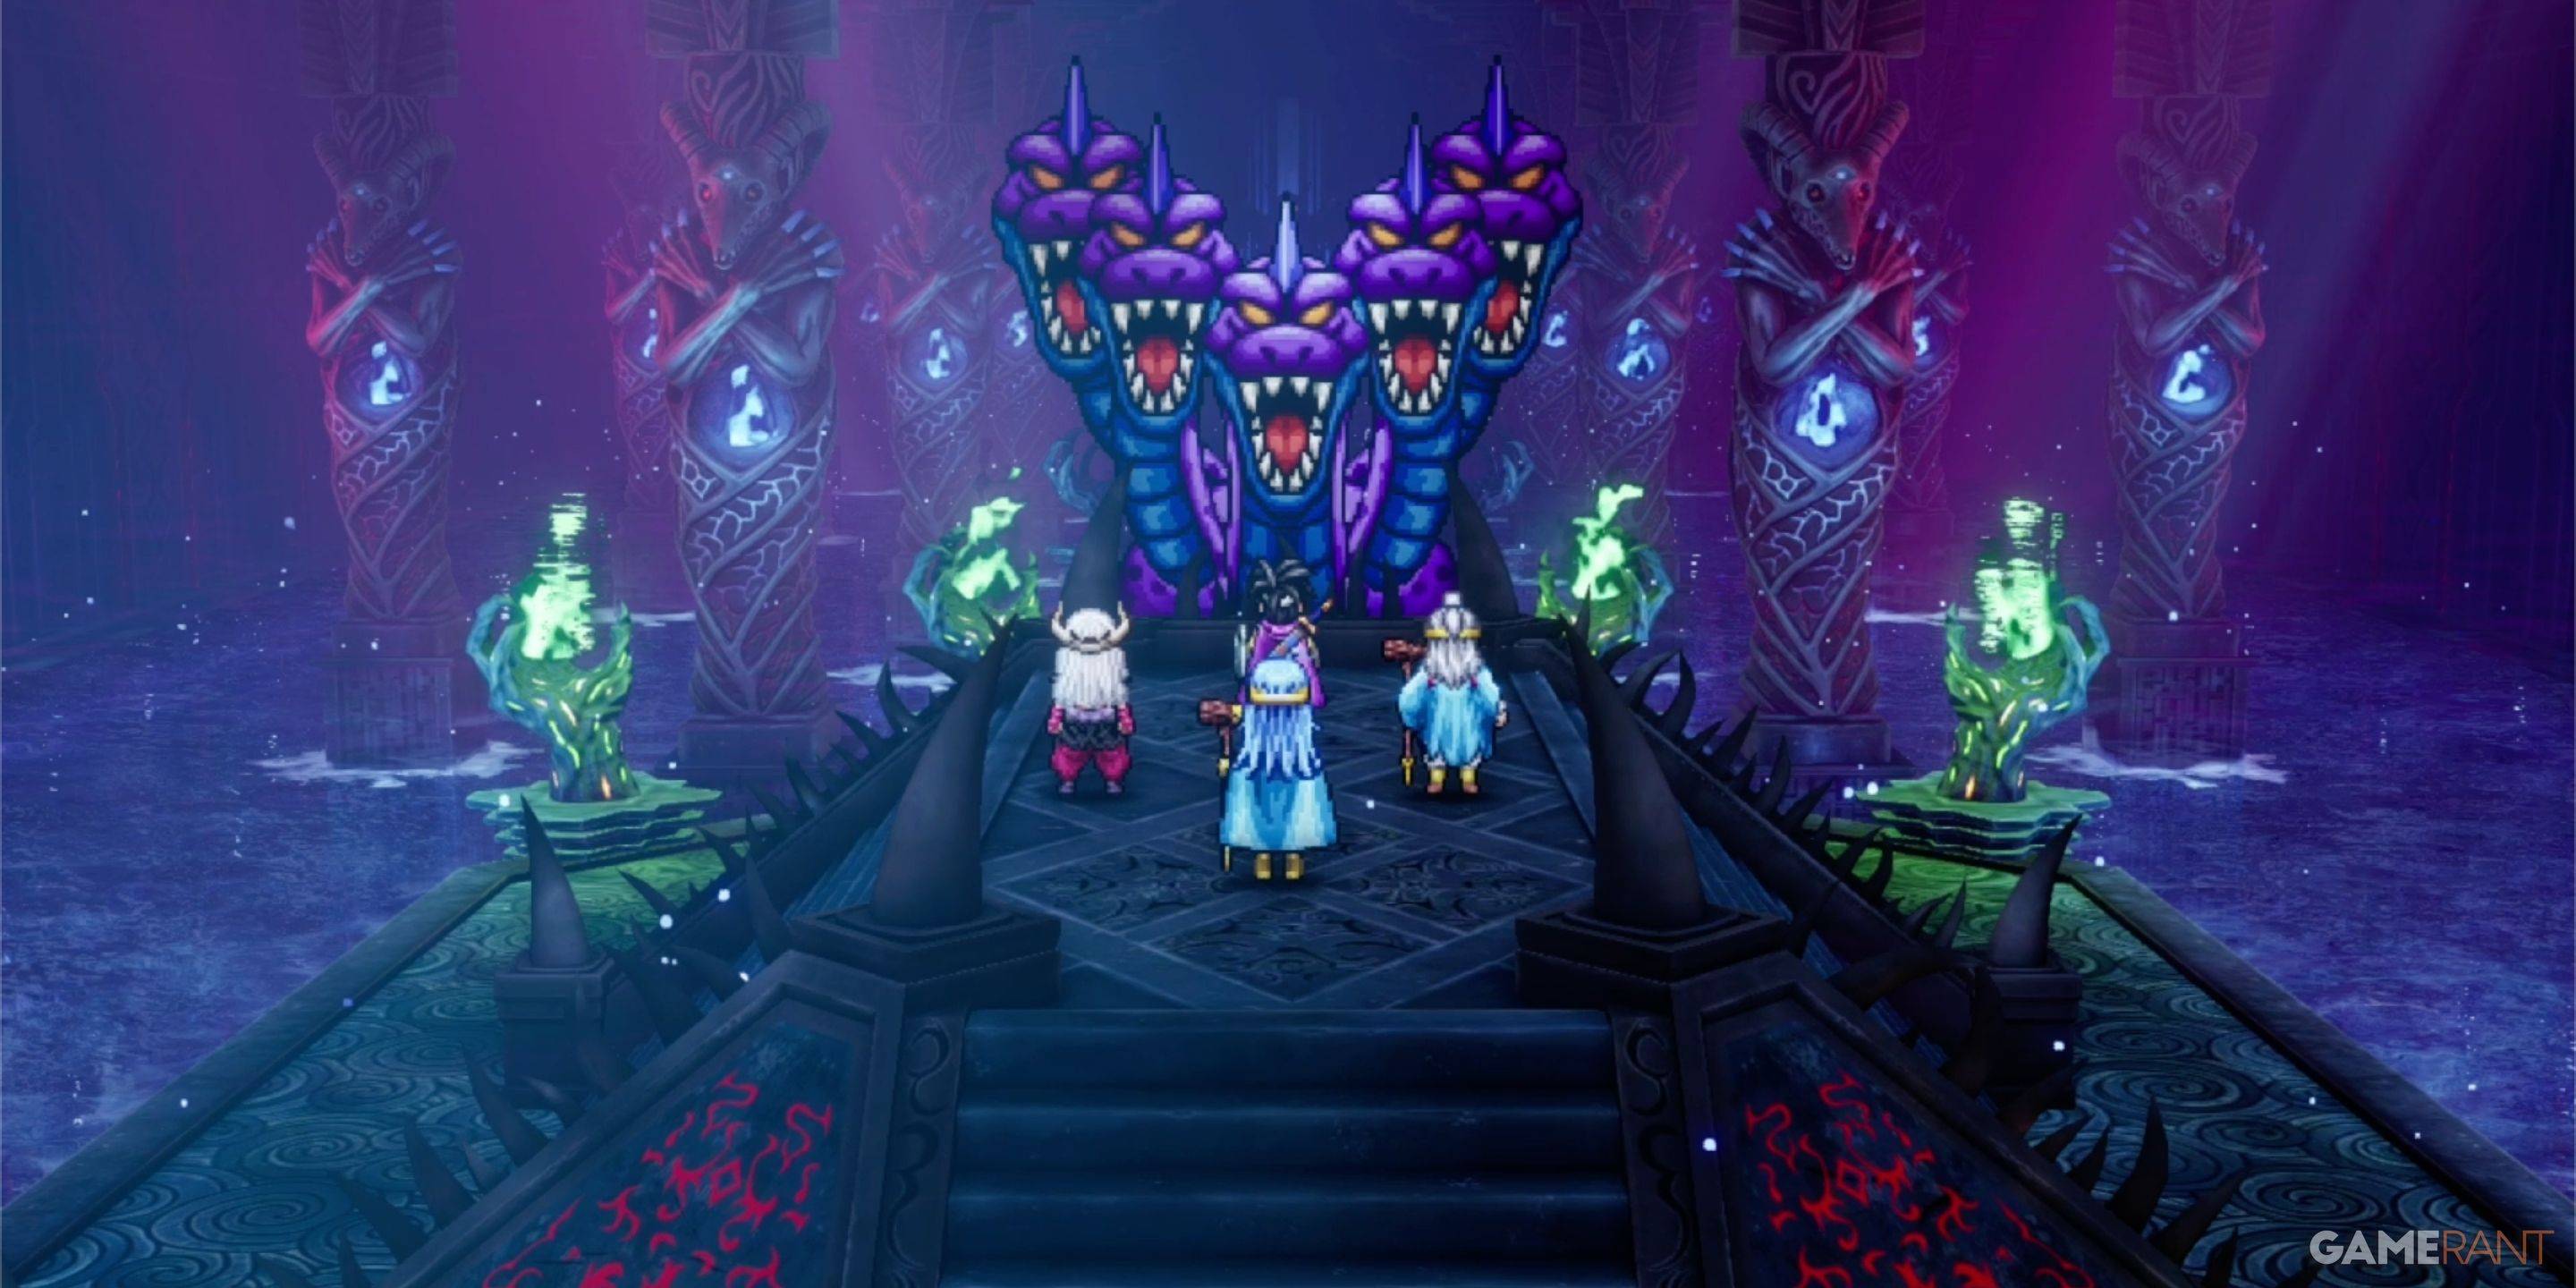
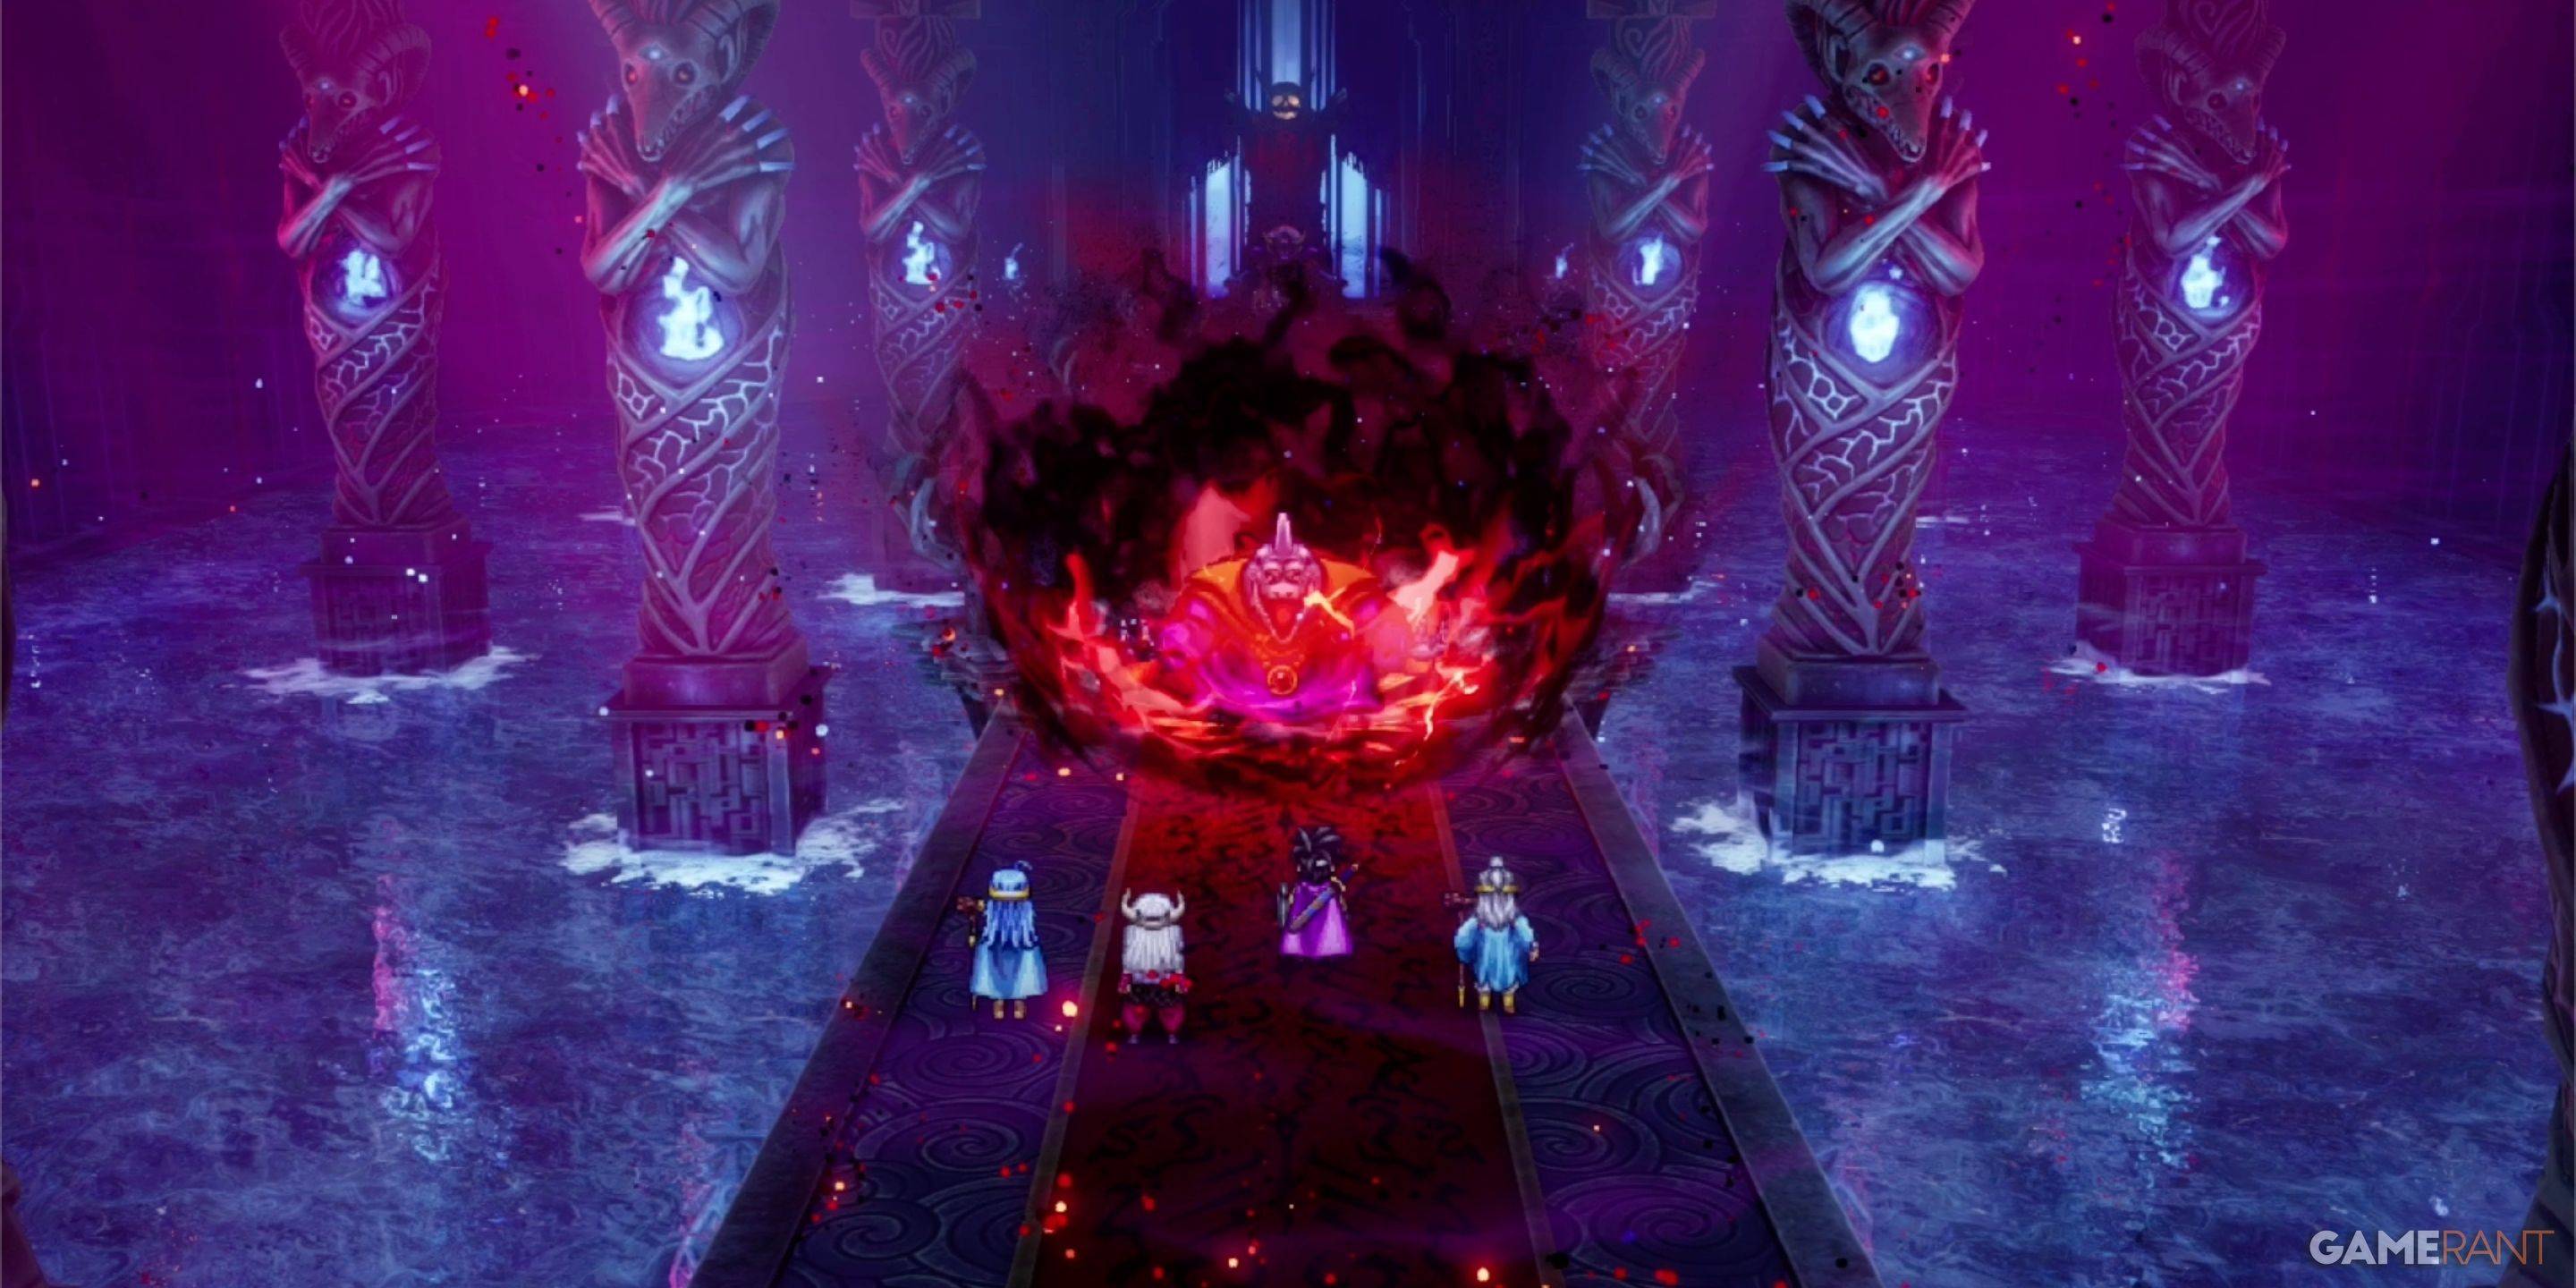
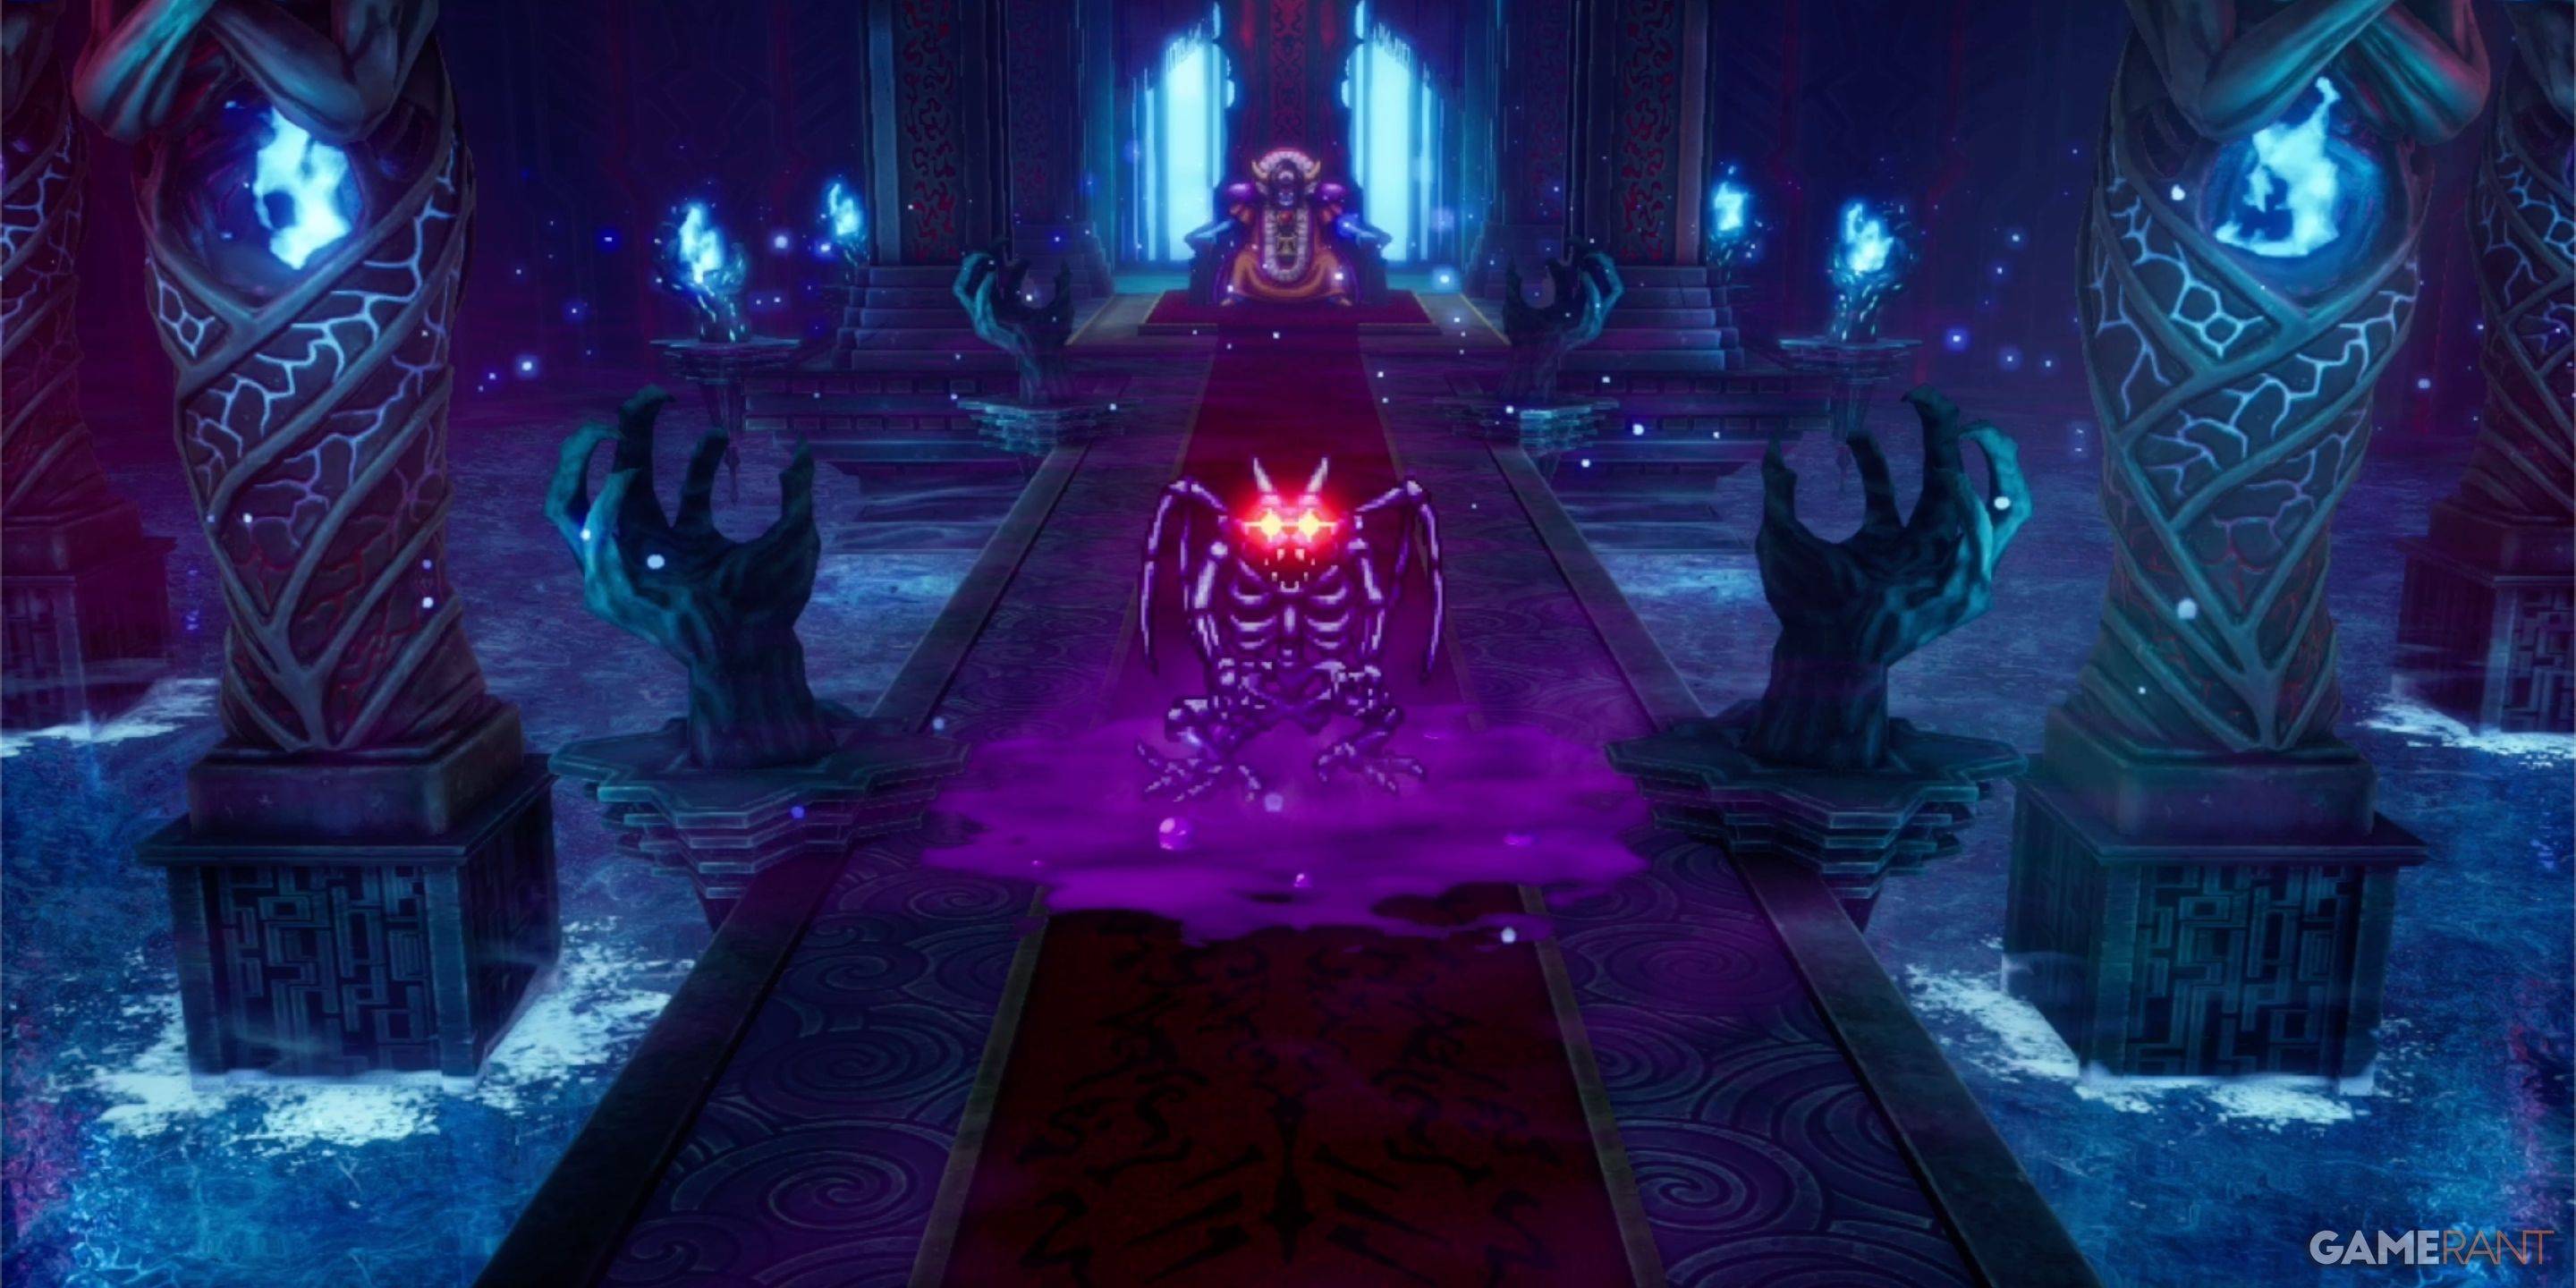
Zoma: Conserve MP initially. Use the Sphere of Light to remove Zoma's magic barrier, then exploit their Zap weakness with Kazap. Prioritize HP and revive fallen party members. Strategic play is crucial.


Zoma's Citadel Monsters

| Monster Name | Weakness |
|---|---|
| Dragon Zombie | None |
| Franticore | None |
| Great Troll | Zap |
| Green Dragon | None |
| Hocus-Poker | None |
| Hydra | None |
| Infernal Serpent | None |
| One-Man Army | Zap |
| Soaring Scourger | Zap |
| Troobloovoodoo | Zap |
This comprehensive guide should equip you to successfully navigate Zoma's Citadel and emerge victorious!
 Home
Home  Navigation


 Latest Articles




 Latest Games